Date: Jan 25, 2014
This is one of my favourite CNY dish this year.
Some thing simple to cook.
I called it Pork Skin Pork Tail Pork Meat Stew. 闷猪皮猪尾.
Two weeks ago, I ate this similar dish from my friend’s place. Her mom cook this porky dish and I found it so quite nice.

So, since today I need to cook for my CNY reunion dinner, so I asked her to find out from her mom how she cooked it.
Just want to make sure I did not miss out any major ingredient as I am going to do some modification to it.

Let’s look at the ingredients.
1. Pork skin. I bought this from NTUC. Very cheap. 50 cents nia.

This is the first time I cook this. So, let’s cut it this way. Make it looks like a “cacing” (worms) shape. HaHaHa.

2. Pork Tendons. This one, you also can get it from NTUC.

Cut it this way.

3. Pig Tails. Also available at NTUC.
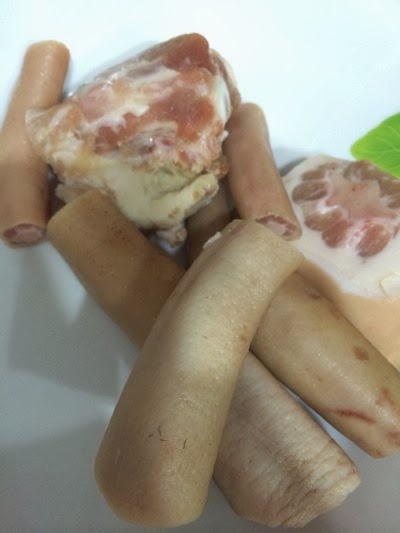
4. Pork Twee Bak. I used two packs. About 800 grams like that.

5. King Oyster mushroom. 1 pack.
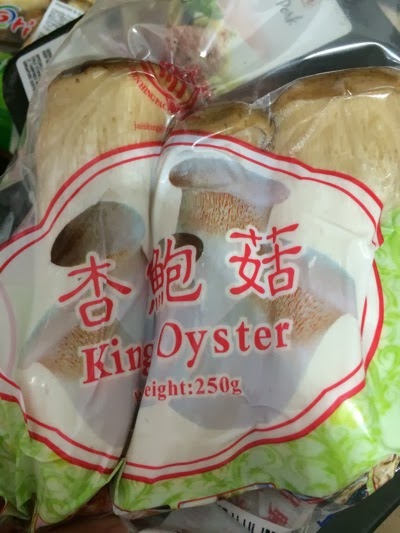
Cut it like that.

6. Mini King Oysters Musroom.

7. Some Onions. Some carrots. Some Garlics.
Let’s Cook it!
A. This is the first time I cook such dish. So, I only use my common sense to cook it. May be wrong but it turn out OK. Wahahaha.
Prepare a pot of hot boiling water. Why? Because when you cook things like pig skin, pig tail, you want to be 100% absolutely sure to kill all the germs before it goes into your cooking dish. So, you need to rinse pig skin and pig tail in the water sort of to cook it a little.

Let it boiled. For 1-2 min inside.

See. You have to boiled it until it looks like this. Look quite safe. Then, you take out rinse it with cold water and put it aside.

It looks cooked from the outside. After a few minutes soak in the hot bath.
Take note that pig is one of the animal that eats almost everything. So, you can imagine the bacterias resides within pigs. So it is best to cook first before you throw it in to the main dish pot.

B. Next. Put in some Japanese sesame oil. Take a kitchen tissue and wipe the sesame oil all over the pot.
I am using iCook pot, so, I cooked from cold. So, no fire needed at this time, simply put all ingredients inside.
Then, place the onion inside.
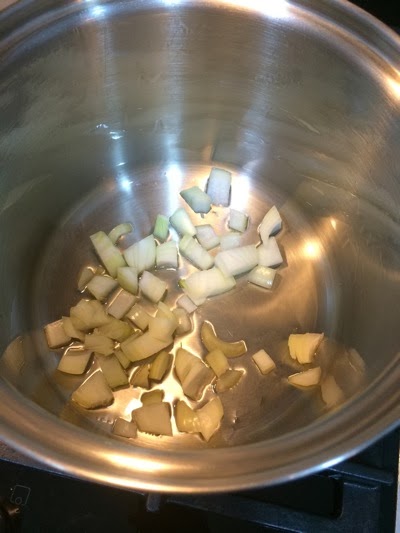
I bought this from Mediya at Liang Court. It is a white sesame oil. It is from Japan. Quite nice the smell. And the oil looks very pure and clean.

C. Let’s place in the twee bak.
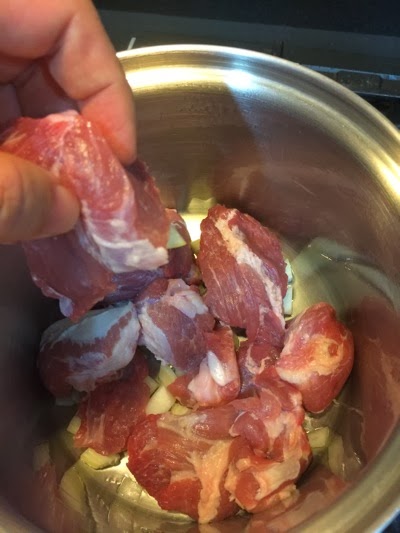
D. Now put the carrots. Just cut into chunks and place it there.

E. Next put the pig skin and pig tail into it.

F. The pork tendons.

G. Then, you throw in the mushrooms.

Next, we need to make the “dark sauce”.
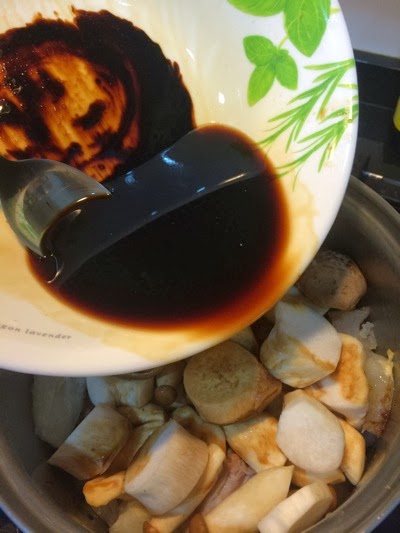
I use this brand of thick soya sauce.

I also mix it with Hua Tiao Chinese Cooking Wine. You can put more of this so that it taste much more better.

H. I almost forgot my garlics.

I. Oh, I also put in a pack of Pouched Spices. If you cannot get this, then, simply prepare the 八角五香桂皮, etc. To make it smell and taste nice.

J. This morning, I bought some Siu Bak (Roasted Pork) from the Tiong Bahru market. I don’t like it. Let’s throw them here. Wahahaha
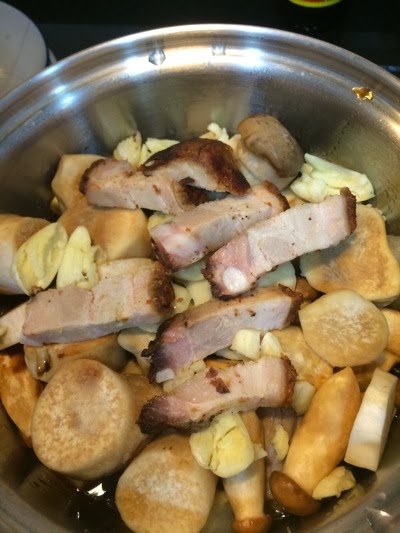
K. Some Abalone Sauce.
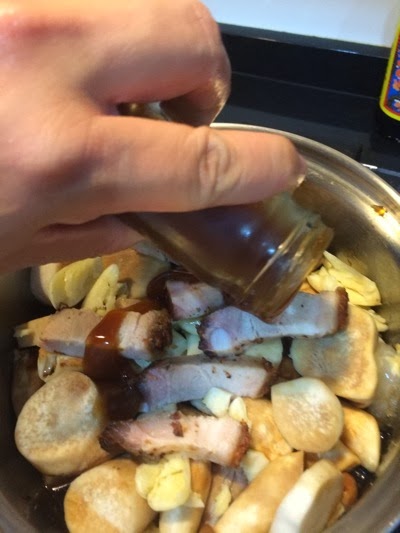
L. I use 2 packet of Chicken stocks from Swanson.

M. This is the stock or water level I placed. Because the mushroom and others will shrink. So, you don’t need to cover the water/soup so much.
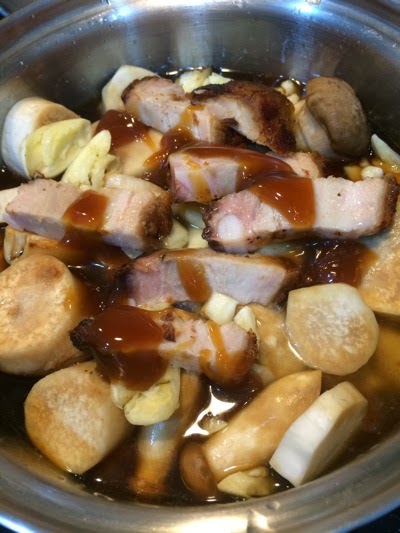
As usual, iCook have amazing technology to make the pot cook to a very nice and tasty level. So, small medium fire for 20 minutes, until the vapour seal is form and then, turn down the fire to the the vital lock (pressure) slow cooks it for 1.5 hours to 2 hours.

For the 1st hour, if you happen to open the cover and taste it. The soup is watery.
But as soon as it passed 1.5 hours to 2 hours, the soup becomes thicken, this is when the pig skin and tail start to pump the cologne into the soup. And it tasted quite nice. You do not have to put a lot of salt when you cook with iCook. So, the taste is just nice after 2 hours.