Showing posts with label cooking. Show all posts

Sunday, January 25, 2015

Cook With Ken - Japanese Onion Soya Pork Tofu 日本酱油豆腐猪肉

Date:  Jan 25, 2015

I always wanted to cook very simple and nice food.

The food got to be tasty, but most importantly, it has to be easy to cook.

We always love to eat Japanese food, especially, my younger son Kay Kay.

So far, Kay Kay loves this dish.  Whenever I cook this dish, he would have a big bowl of rice to go with it.

Let’s find out how I cook this.

I don’t know or can’t recall what they call it in Japan, but I called it Japanese Onion Soya Pork Tofu 日本酱油豆腐猪肉.

What Do You Need

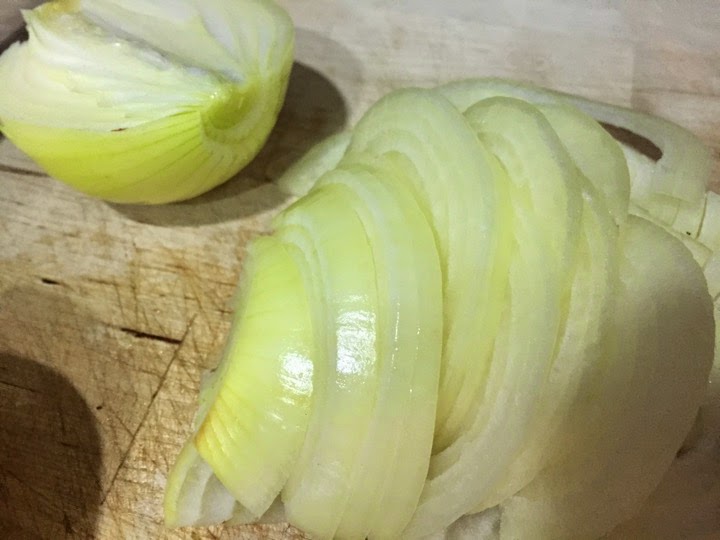
1.  2x Big Onions.  White, Yellow or Red, it does not matter, but I like the taste of White Onions.  So, you first cut it into half, and then slice it.
IMG 7176

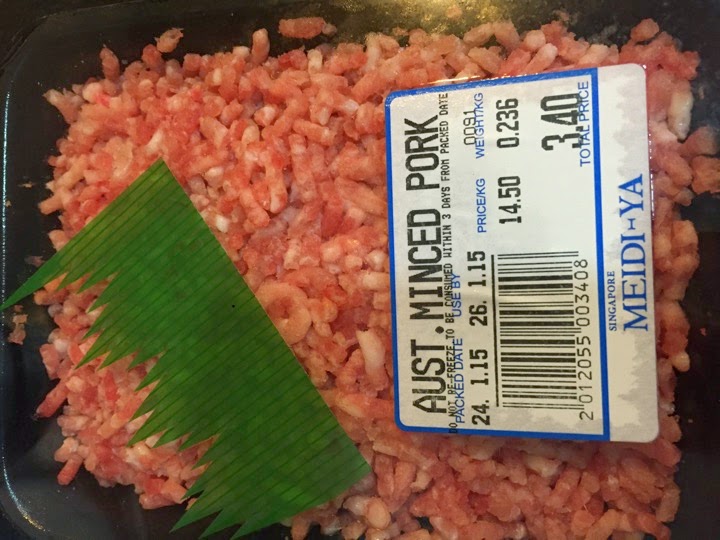
2.  Pork.  You can use Minced Pork (Kay Kay likes this).  
IMG 7177

OR you can use this shabu shabu type of pork.  Looks like bacon kind of pork strips.  Usually you get it from Japanese super market such as Isetan, or Mediya.  Today, let’s use this to cook.

IMG 7179

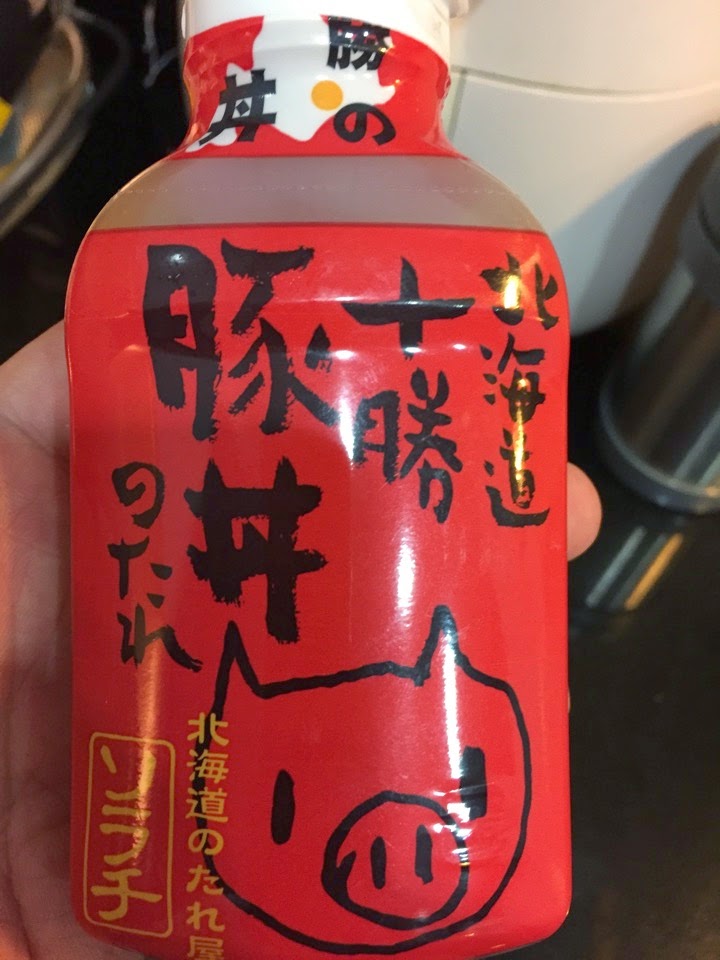
3.  Special Sauce.  I use this special delicious soya sauce from Hokkaido.  You can get it from Isetan Super Market @ West Gate.    
IMG 7193

It is called Hokkaido Tokachi Butadon Tare.  This soya sauce is the best that I have ever bought.  After you cooked the meal, it taste exactly like those made in the restaurant.  hahaha

IMG 7194

4.  Any tofu will do.  For steaming use.

IMG 7203

Let’s Cook

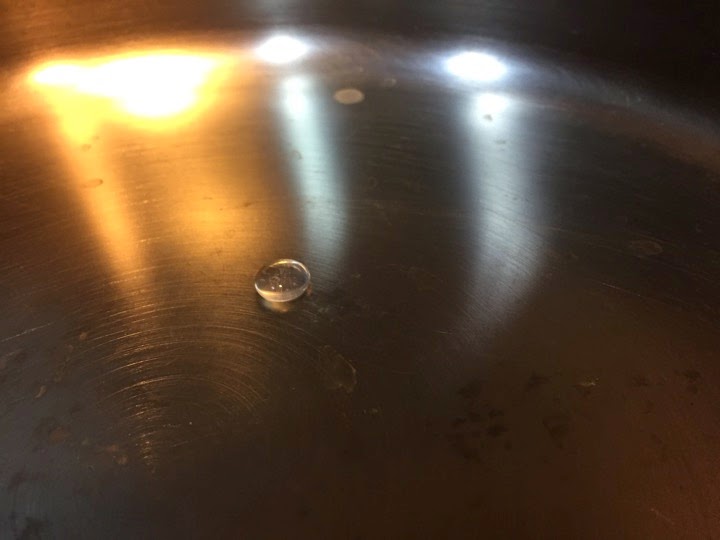
a.  Always heat the frying pan.  The pan should be heated enough so that you drop a drop of water, the water is running on the hot pan.
IMG 7187

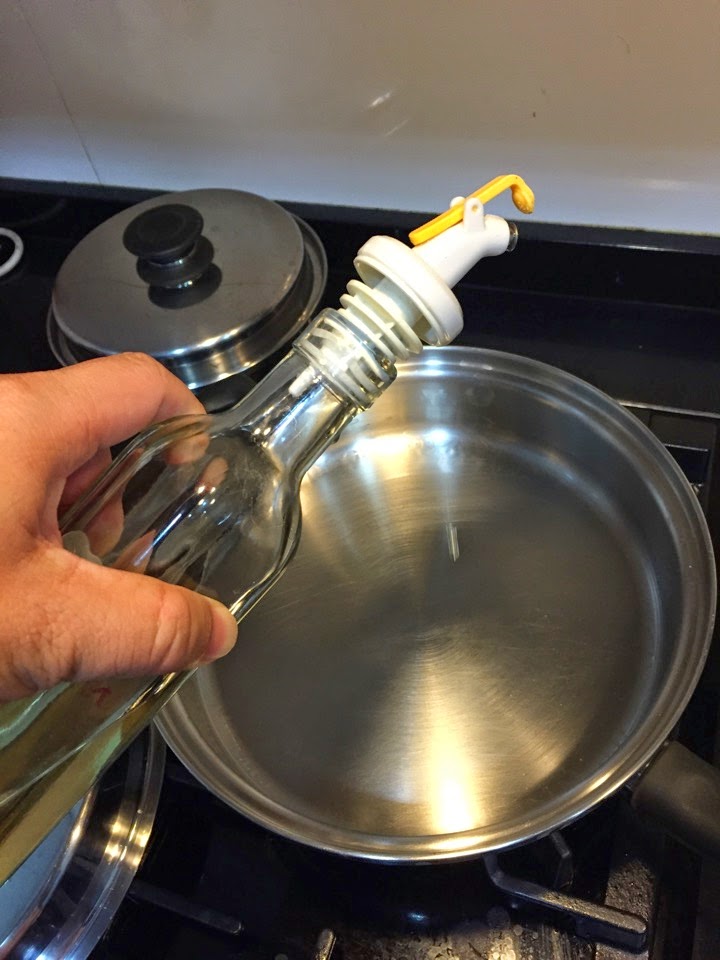
b.  Put some cooking oil into the hot pan.
IMG 7188

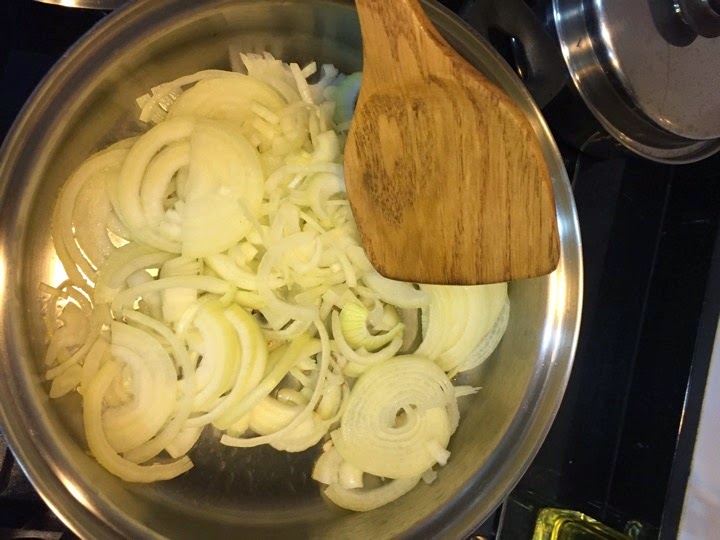
c.  Put in the onions.  Stir fry a bit.
IMG 7191

d.  Cover the pan, lower the stove fire to MINUMUM.  Let the slow fire slowly cook the onions slowly.  It takes about 5min to 10min.

IMG 7190

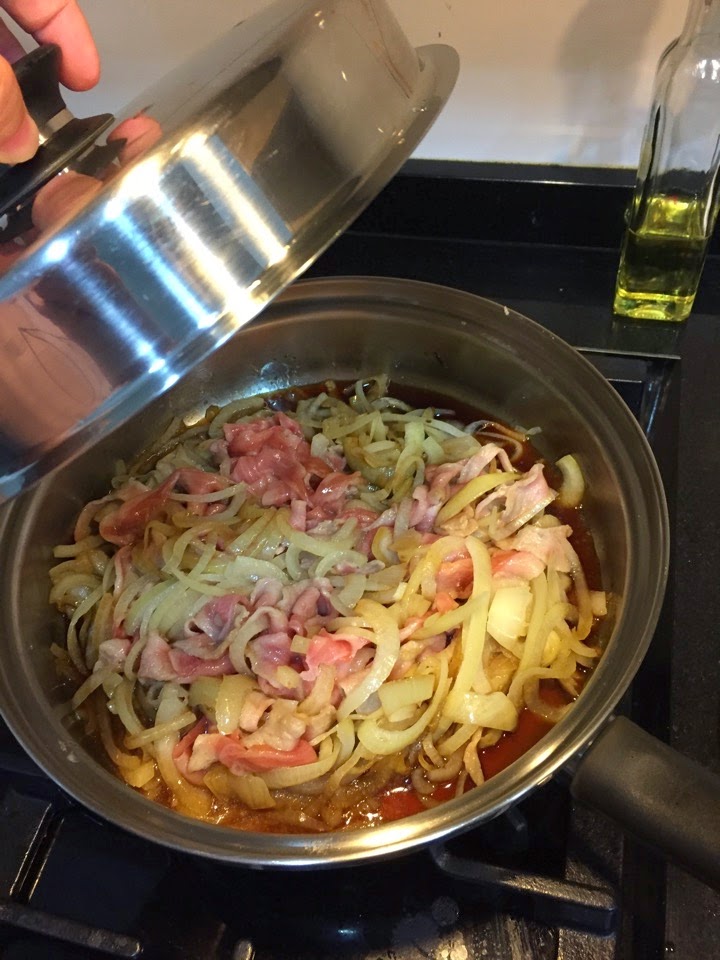
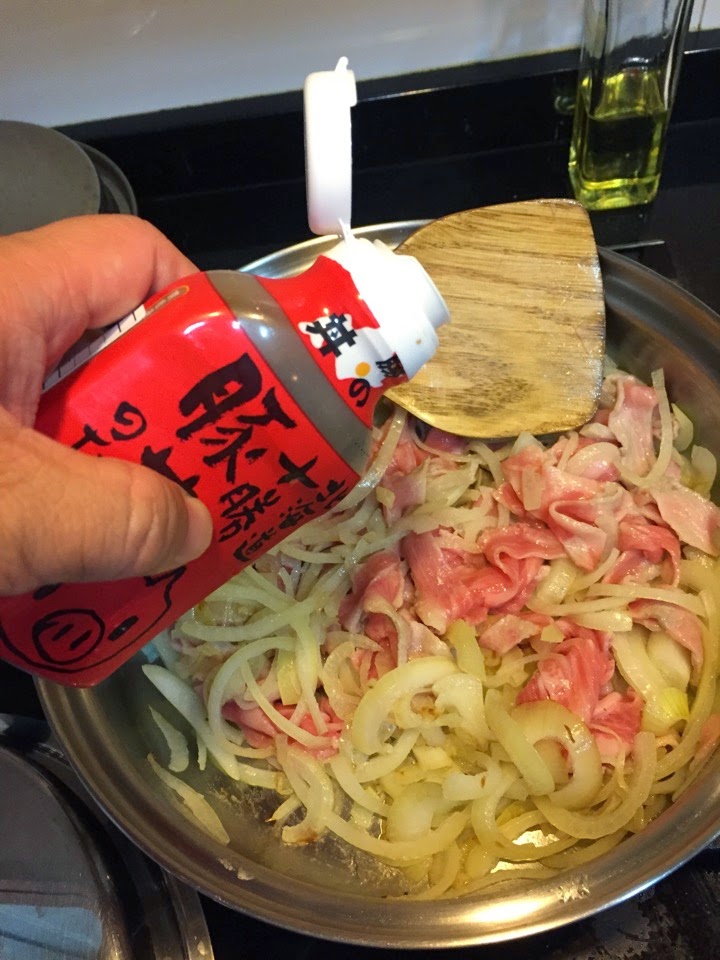
e.  Next, place the pork nicely into the pot.  As you can see the onions already soften.  Then, put in secret sauce.  I put half bottle of it.
IMG 7195

f.  I add in very little water into it.  I don’t want it to be too salty.  So I add just a little, may be 2-3 soup spoon.  You do not want to add too much to dilute the soya sauce.  The soya sauce secret sauce is the key to this dish.  It is sweet and a little salty.  So, adding water is to keep the sweetness but dilute the saltiness.

IMG 7197

g.  Again, cover the pan.

IMG 7198

h.  Use smallest fire to simmer it.

IMG 7199

i.  2-3 minutes later, open the pan.  You can see most of the pork bottom park cook, but top part still pink color.  So, it’s time to turn the pork.  Did you see the sauce?  That is the amount of sauce you need to keep seamer the pork.

IMG 7201

j.  Turn the pork over.  Stir fry a bit.

IMG 7202

k.  My "tofu son” favourite, Tofu.  So, I cut the tofu into half, and then simply just put on top of the pork.  and cover the pan again.  Cook with slow fire, small fire.  Let it SLOW COOK. Another 10-15min.

IMG 7204

l.  And it is done.  The sauce become a bit sticky.  Tofu is fully steam after 10-15min.  And the smell is nice.

IMG 7208

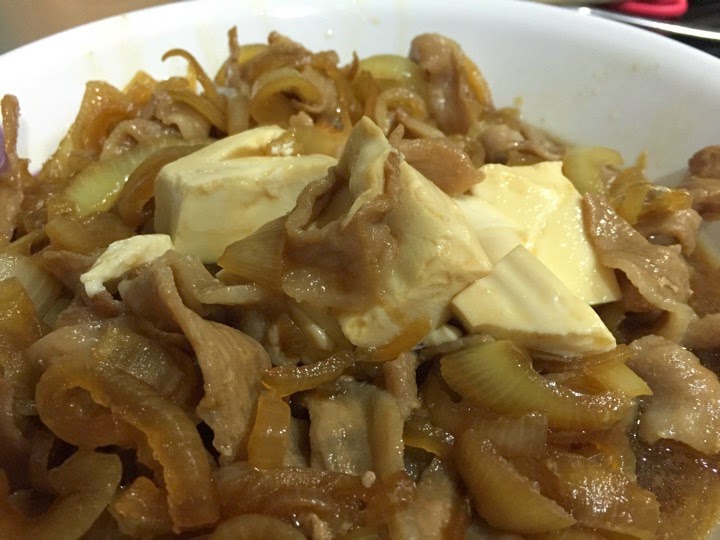
m.  OK.  Cut the tofu, place nicely in the serving plates.  And there you go, the Japanese Onion Soya Pork.  My version.
IMG 7211

n.  So, today, I also bought some Ikura (Fish eggs) to go with it.  And He loves it, and finish it all.

IMG 7214

o. There are some other dish, but I think this is the only dish that the kids love it so much.

IMG 7219

p.  You got to cook Japanese Rice to go with it.  You will see oily oily part, because those are the natural pork oil.  (Remember, we only use very thin layer of oil to slow cook the onion, that’s it).  And the meat will curl up.  You do not want to over cook this, as it will become harder to bite.  

IMG 7223

Of course, you can use the same way to cook using mince pork.  Here is how the mince pork version looks like and mix it on top of the rice.  (those two are fish ball from the vegetable).

IMG 7013

I cook this 3 times this week.  And he always take a very big plate of it.  My strong supporter at home.

IMG 7008

Monday, December 1, 2014

Cook With Boon - Cheesy Macaroni

Date:  Dec 1, 2014

Today, let’s make a simple kid’s meal.

Cut some carrots and juice it!

IMG 4123

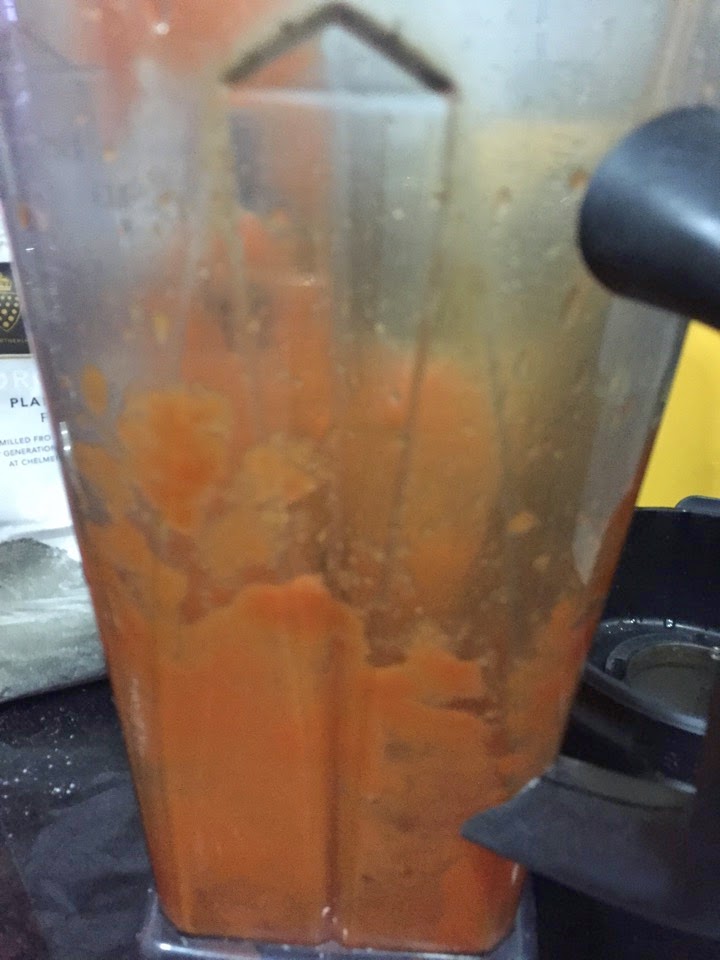
One full cup of carrot juice.

IMG 4122

Instead of water, replace it with carrot juice.

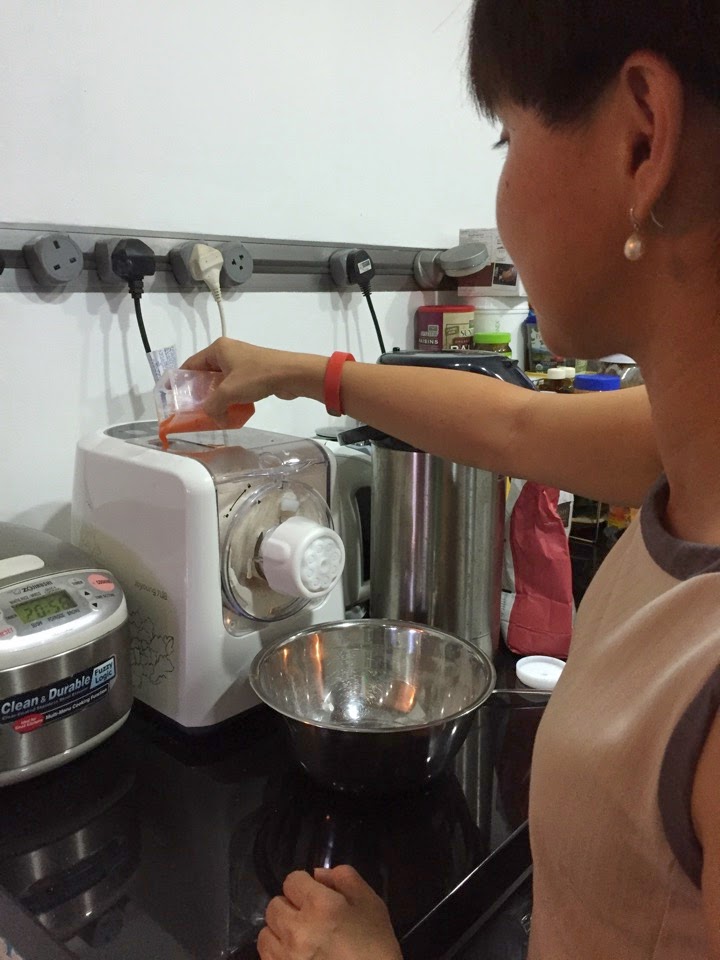
Put in the flour and turn on the Noodle Machine.

Slowly pour the carrot juice into the Noodle Machine.

IMG 4126

Use the Macaroni head.

IMG 4128

The pouring has to be consistently slow.

IMG 4130

This carrot juice will be blended into the noodle/macaroni we about to make.

IMG 4131

You can see the flour is turning inside with a orange colour hint.

This is very healthy.  

Carrots good for your eyes.

IMG 4137

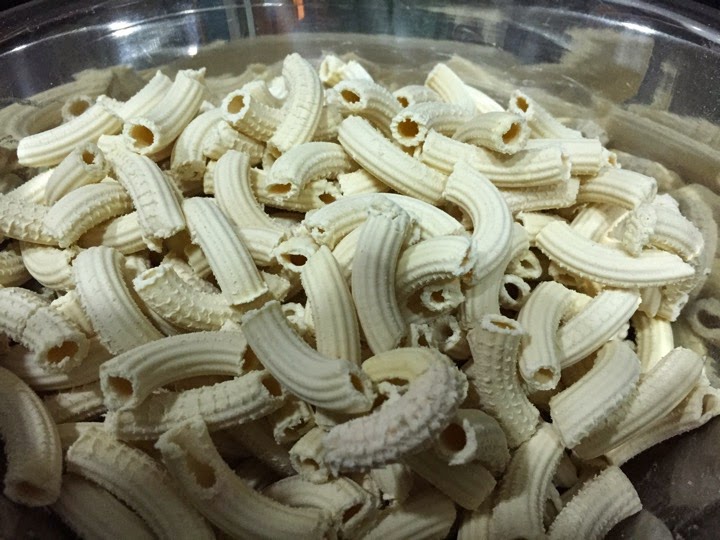
Here comes our macaroni.

IMG 4135

Home made Macaroni.

IMG 4139

Boiled a pot of water.

Add in some olive oil and a bit of salt in the water.

Boil the macaroni.

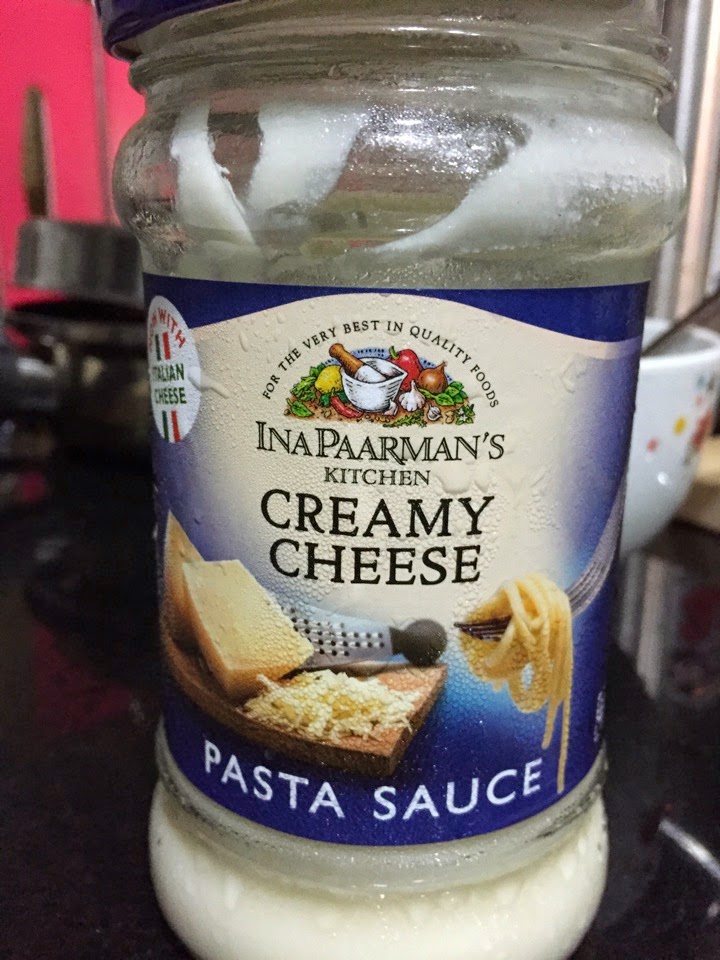
Once done, mix it with this Creamy Cheese Pasta Paste.

You can get this from Cold Storage or any Super markets that sell it.

It is very delicious and creamy.

IMG 4140

INA PAARMAN is the brand ya!

IMG 4141

Once mix, it looks like this.

Home made macaroni is fresh.

IMG 4148

And the kids love it!

They can eat a whole big plate of it.

And they don’t even know that we have mix carrots inside their food.  HaHaHaHa...

IMG 4151

Sunday, September 1, 2013

Making Ang Ku Kueh

Date:  Sep 1, 2013

Jay Jay's P1 Social Studies is about Peranakan kueh-kuehs and cakes.

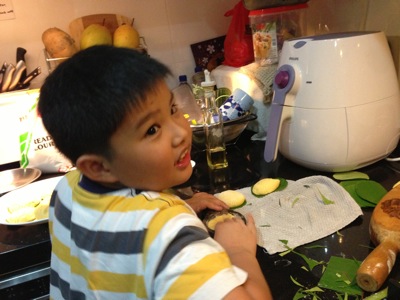
So, since grand ma is here, let's ask grand ma who is 1/2 a nyonya to teach Jay Jay how to make Ang Ku Kueh.

IMG 5448

Of course Jay Jay loves to do it.

IMG 5450

Jay Jay is a kid where he loves to try new things and learn new things.

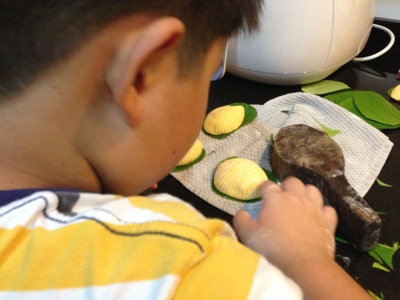
IMG 5451

Not too bad.

IMG 5452

Let's cook it.

IMG 5453

Of course, the young one can do also.  

IMG 6590

Wah… like a big boss.

IMG 6592

Once done, put the thing on the banana leaf.

IMG 6596

And that's it!

IMG 6598

Yeah, I can make Ang Ku Kueh.

IMG 6600

I make another.  Nice!

IMG 6602

Saturday, August 10, 2013

Cook with Ken: 不一样的“炒”猪脚米粉 Fried Bee Hoon with iCook

Date:Aug 9, 2013

Happy Birthday Singapore.

Lukas' family brought some KFC over to watch National Day Parade on TV.

So, I decided to "fried" the bee hoon again.  I fried it just a day before for dinner.  :)

IMG 5732

The word "fried" is double quoted.  The word “抄” is also double quoted.  WHY?

You will find out soon.

1.  You need pork belly.

IMG 5701

2.  Cut the pork belly into slices.  No need to marinate.  Use it as it is.  If the pork is fresh, it will gives you the 鲜甜 taste.

IMG 5707

3.  Use Onions.  I used Japanese big Onion.  You can use White Onion too.  Both onions will give you sweet taste.  Take note, I don't use garlic here.  Of course, you are welcome to use it.

IMG 5702

4.  Dice the Onions.  The more the better.  It not only gives you sweet taste, but the crunchy feeling too.

IMG 5708

5.  OK.  I lied.  There is no Pork Leg (猪脚).  I used the 红烧猪肉 instead.  The key is to get that Oil into the bee hoon.  Use two cans if you can and you wish.  Today, I am just going to use one can.  The more you use, the more oily look you get.

IMG 5704

6.  Selecting the Bee Hoon is very important.  I used 太山米粉.  I used a lot of others, some of them quite hard, some of them too soft.  I felt that this 太山米粉 is the best.

IMG 5706

7.  Soak the bee hoon with water for 10-20 minutes.

IMG 5705

8.  The Cabbage.  I used Organic cabbage that gives you stronger taste and sweetness.

IMG 5709

9.  OK.  As soon as you have done with soaking the bee hoon.  You can start the "cooking" process.

All of you know I love my iCook so much since the first 盆菜 I made.  Ever since, I used it.  And I lied again, the bee hoon is not fried.  It is 闷米粉.

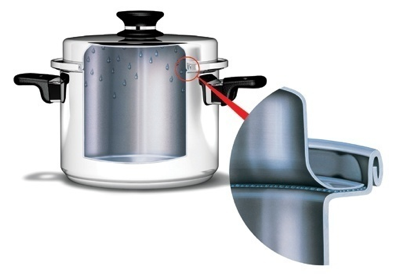
The iCook vita lock and vapour seal technology will keep your veggies and sauce inside the wok itself.

NewImage

10.  So, happy cooking, I actually forgot to take the photo.  hahaha

OK.  Prepare the wok (do not heat the wok).

Pour some sesame oil in it.  

Use a kitchen paper towel to spread the sesame oil throughout the whole wok.

First layer should be the onions.  Spread the Onions on the wok.

IMG 5710

11.  Second layer, should be the pork belly.  You want to put the pork belly there to cook it faster.  

IMG 5711

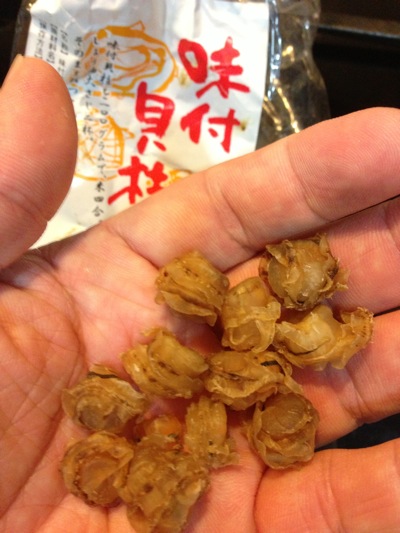
12.  Notice that I also put in a lot of these nice and sweet Japanese small scallops.  If you don't have it, no need to put it.

IMG 5565

13.  Cover it next in third layer with your cabbage.

IMG 5713

14.  Then, place the bee hoon you just soaked onto the cabbage at the 4th layer.

IMG 5714

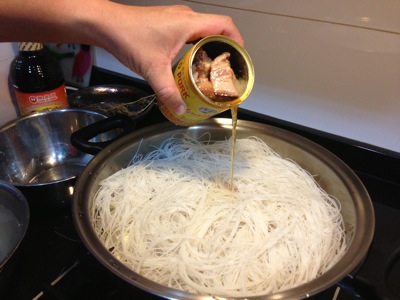
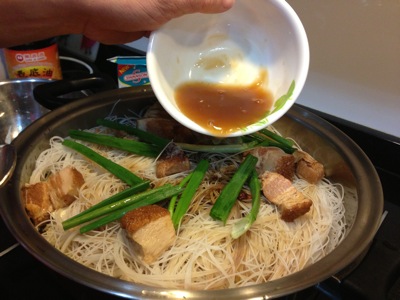
15.  Now, the sinful stuff.  Pour the oily 红烧猪肉 onto your bee hoon.  I think use 2 cans better.  For those who loves 红烧猪脚, you can use it as well.  For healthy reason, and since we got guests, so, cook a bit healthy lor.

IMG 5716

16.  Use 2 cans also gives you more oily meat.  haha collagen.

IMG 5718

17.  Add some Dark Soya Bean Sauce / Dark Thick Soya Sauce.

IMG 5719

18.  Add this much.

IMG 5720

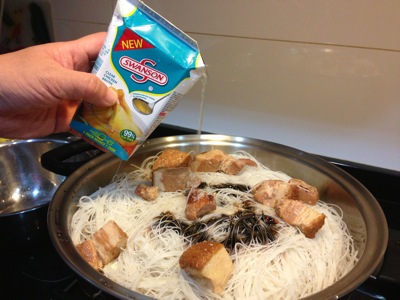
19.  This is important.  Add in 2 (small) packs of Swanson Chicken Broth. 

IMG 5703

20.  If you cooked your own chicken 高汤, of course is better.  For a lazy cook like me, use this is enough.  hahaha  2 packets.

IMG 5721

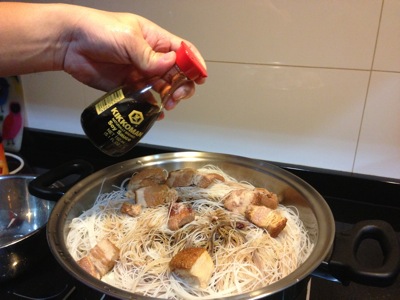
21.  Almost forgot, add one or two rounds of light soya sauce.

IMG 5723

22.  Cut a few green onion leaves for more veggie taste.

IMG 5725

23.  Lastly.  Put in some Abalone sauce if you like.

IMG 5727

24.  Not pour in like that.  Mix it with a little bit of water.

IMG 5728

25.  OK Done!.  Cover it with iCook cover.

26.  Turn on Medium fire.

IMG 5731

27.  It is technology.  What it is doing, is distributing the heat evenly thruout the wok.

NewImage

28.  Some how, the iCook wok will know when all the ingredient is fully cook, so, it will create a "vitalok" and vapour seal it.  So, when it is cooked, you simply turn the cover.  If it can turn smoothly and non-stop spinning, that means the food is cook.

NewImage

29.  So, when it is cooked (15-20 minutes later, when you can spin the cover over the vapour seal), you open the cover, stir your bee hoon so that the color of the bee hoon looks the same after stirring it.

30.  Then, cover it, and turn to small fire further cook for 5-10 minutes.

31.  Then, turn off fire.  Let it steam inside for another 5-10 minutes.

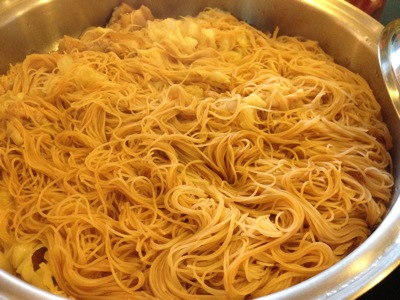
32.  So, when you open the cover, you will see this.  Notice that there are still quite some sauces below.  Done!

IMG 5732

Compare to yesterday, the taste is exactly similar.  Color may be different because of I put more dark soya sauce today.

IMG 5619

The bee hoon is very tasty.  hahaha

That is why it is not fried bee hoon, but it taste like fried one.  And it does not dirty your kitchen.  And you have plenty of time talking in the living room while your bee hoon is cooking inside the kitchen.

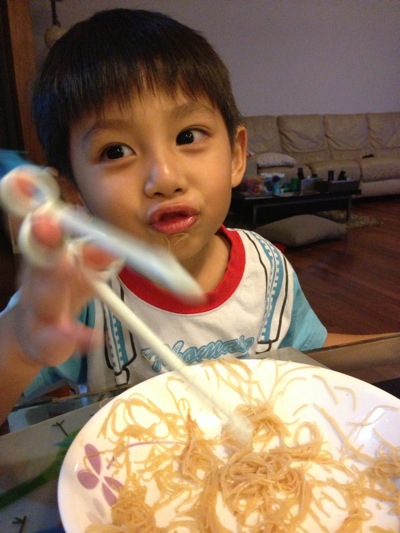
Even my younger son agrees with it.  He usually don't eat a lot of food.  hahaha

IMG 5630